
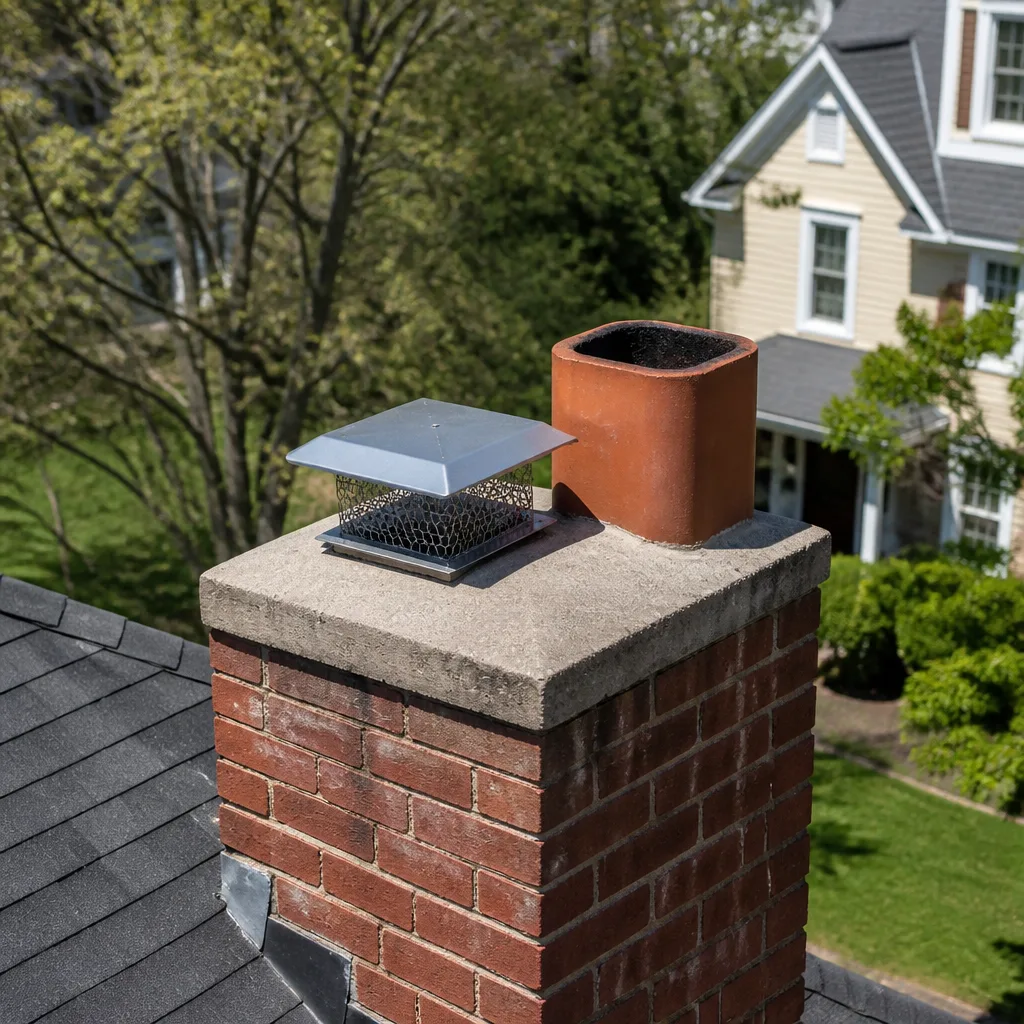
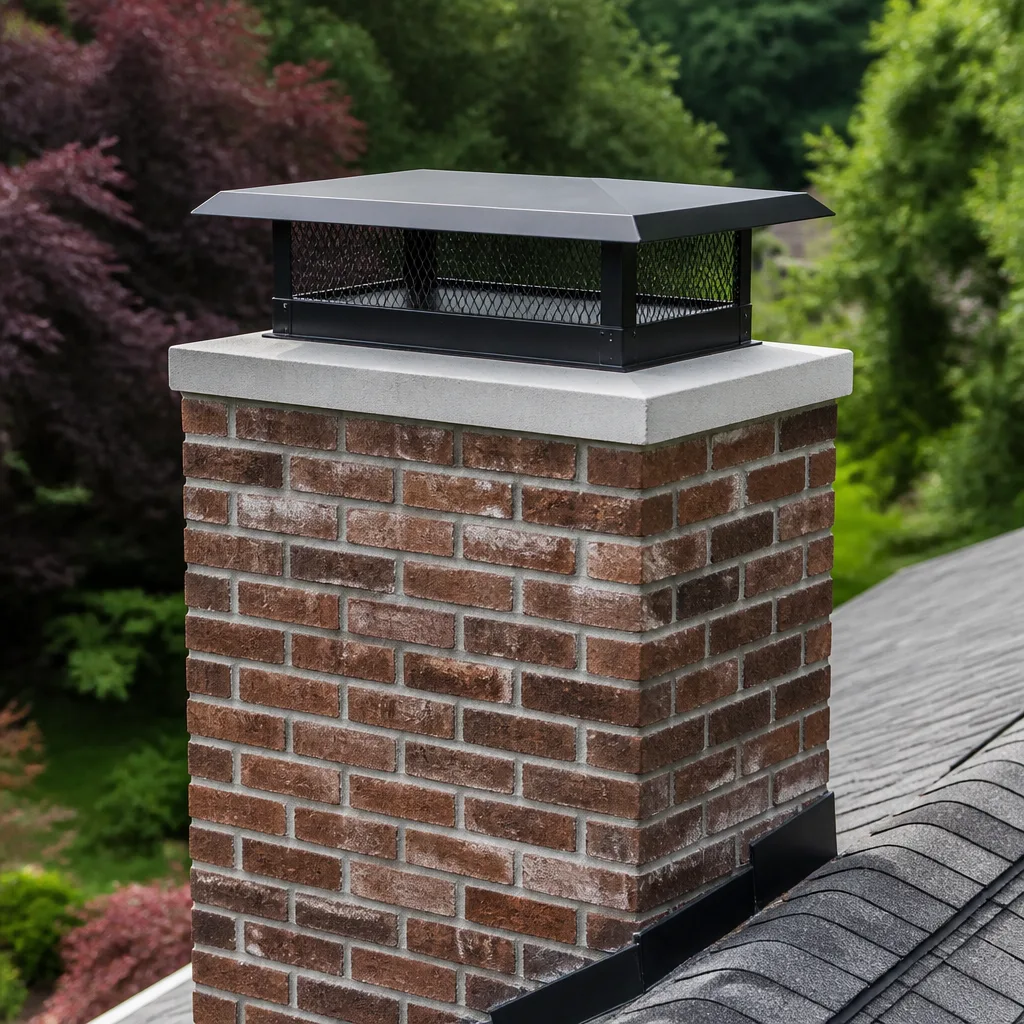
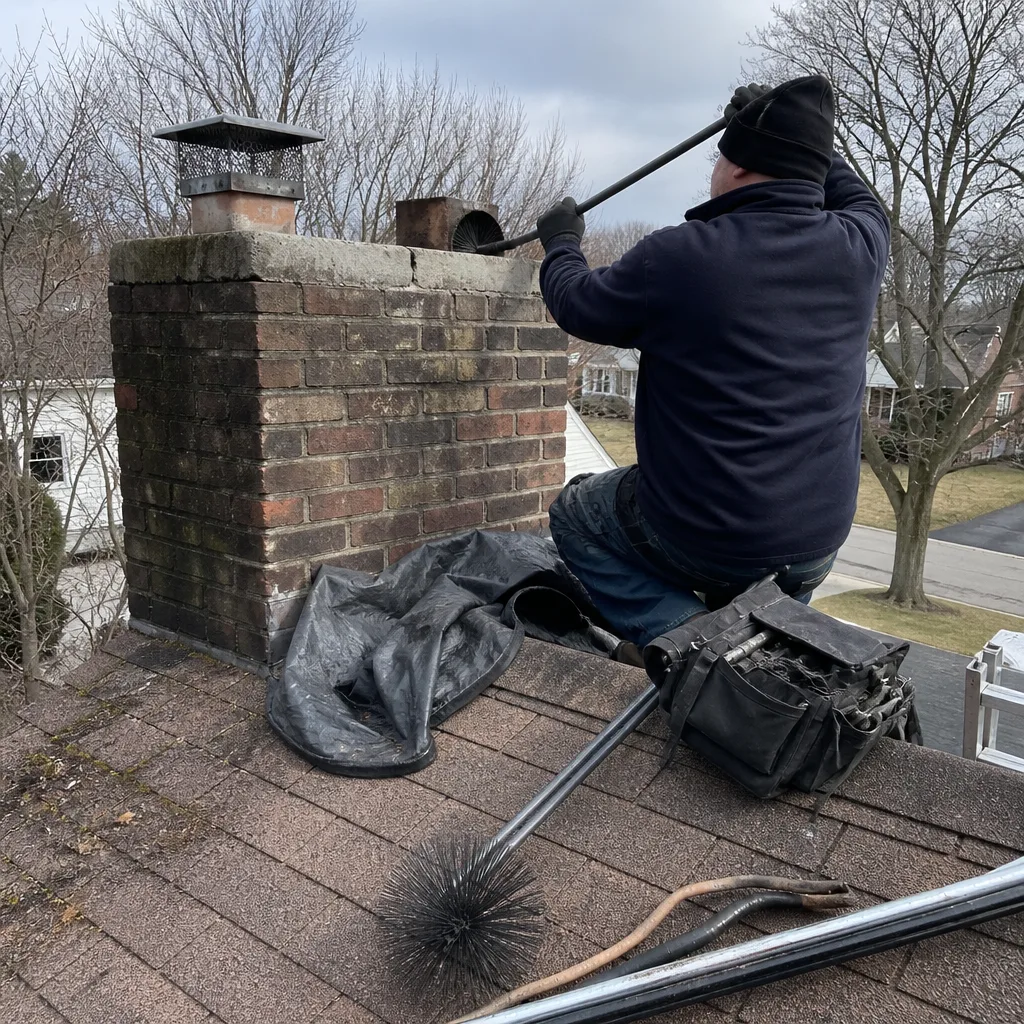
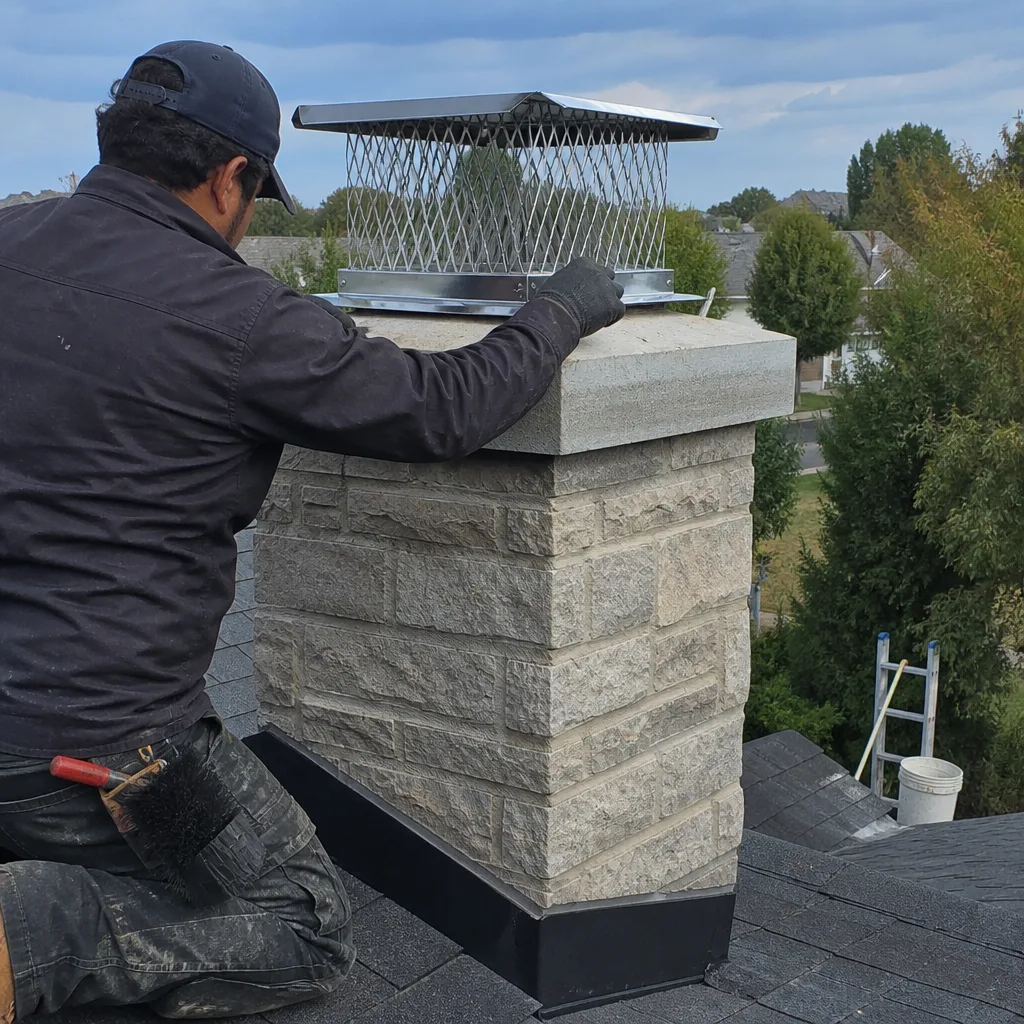
Level 1 sweep and inspection to the NFPA 211 annual standard - flue, crown, cap, and flashing checked and photographed
Chimney sweep logs do not sweep chimneys. They loosen some creosote - which then falls where a brush and vacuum still have to collect it.
 Before
 After
After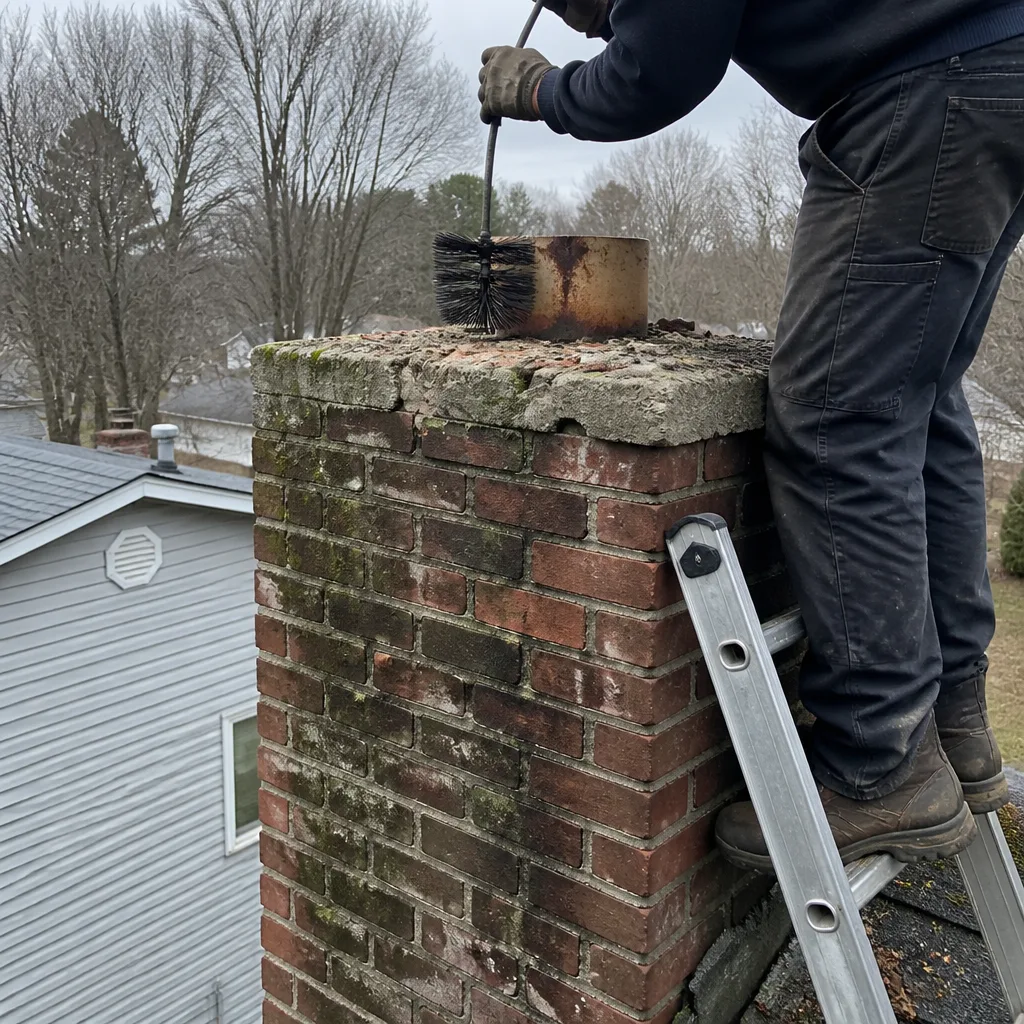 Before
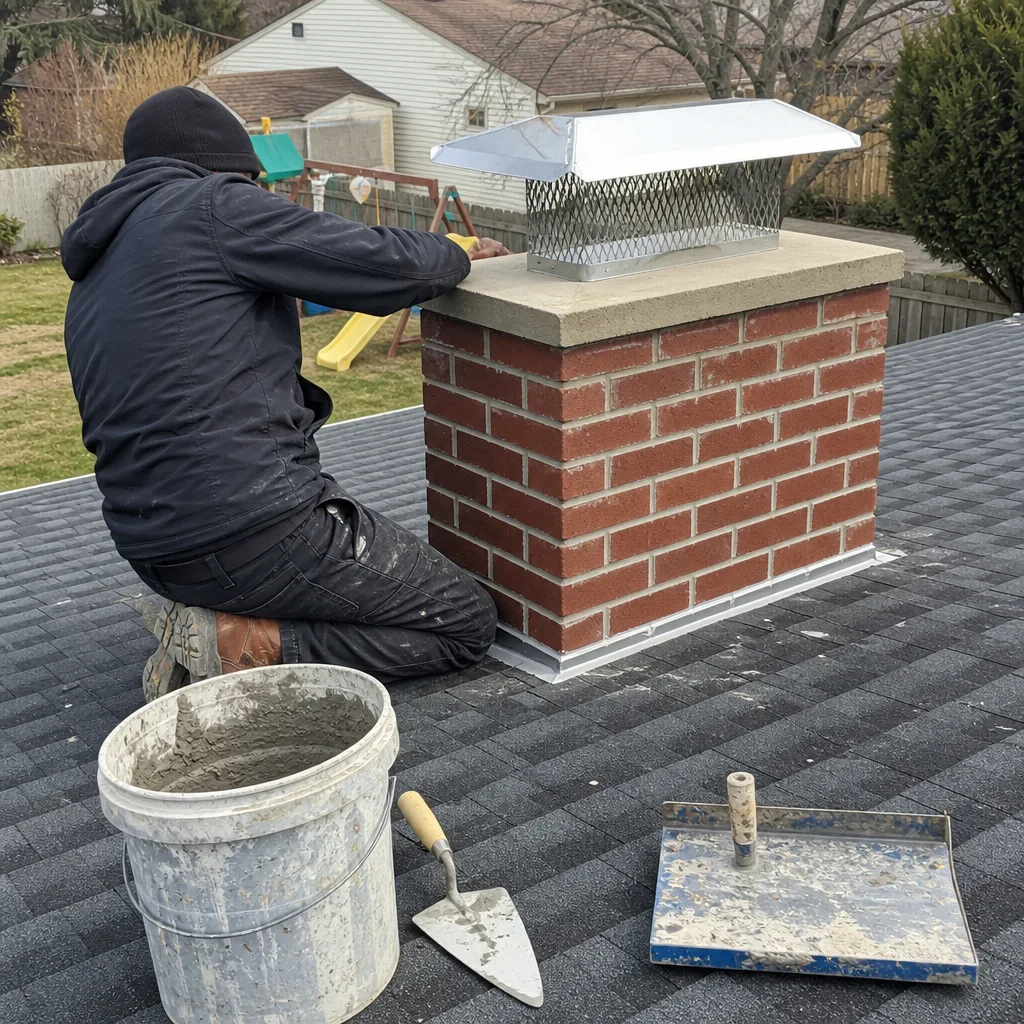 After
AfterGelco Flue Liner Replacement: The Plainview Owner’s Guide
A Gelco flue liner replacement in Plainview typically runs $1,800 to $3,400 installed, depending on chimney height, diameter, and whether the existing liner pulls out clean or has to be cut out in pieces. We stock Gelco-compatible stainless steel liners in the most common diameters for Nassau County homes, and most replacements are completed in a single day. You’ll know the liner is failing when you smell smoke in upstairs rooms, see rust flakes in the firebox, or your sweep shows you gaps or separations on the camera that weren’t there three years ago.
Which Gelco Models This Applies To
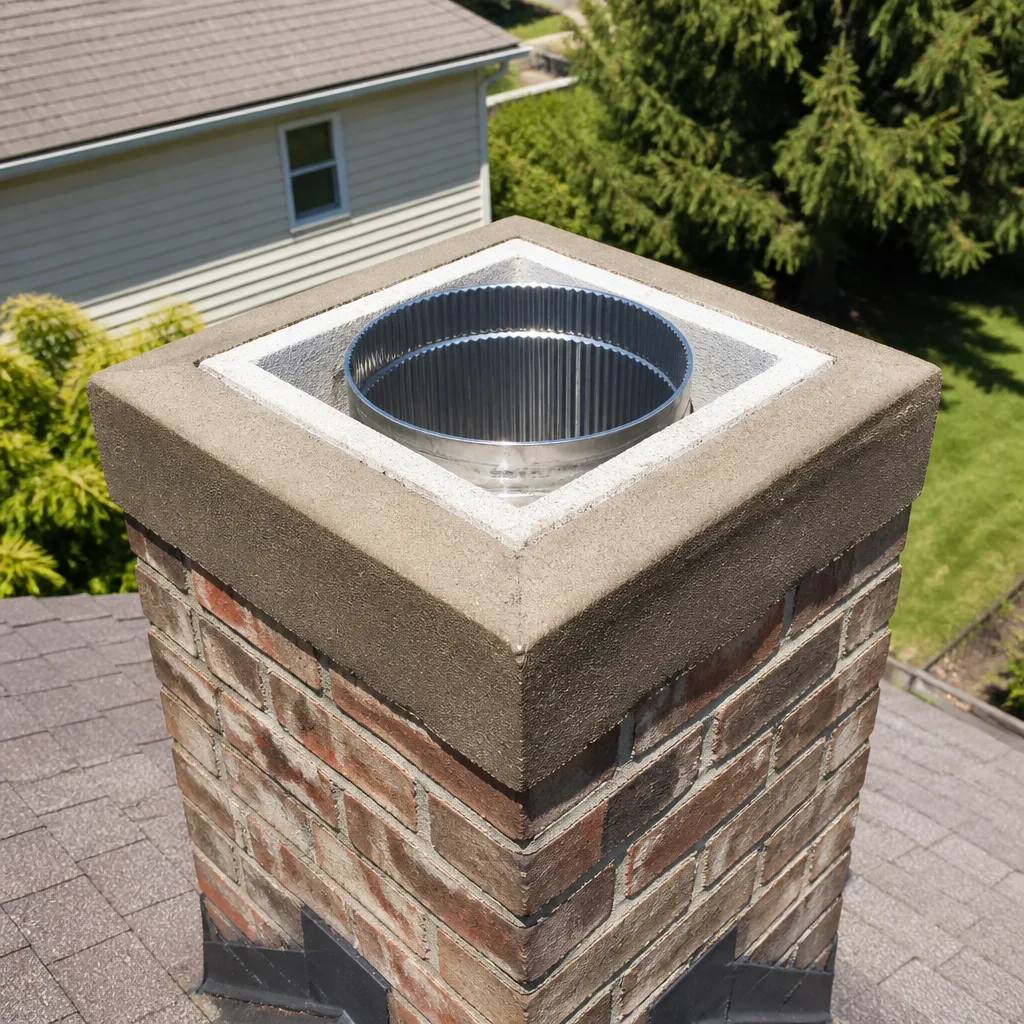
Gelco built its reputation on two main liner families: the original Gelco stainless systems from the 1980s through early 2000s, and the later Gelco Pro series with the thicker 316Ti alloy and the distinctive rolled-top termination cap. The older systems used a lighter 304-grade stainless in either 5-inch or 6-inch round, with some 7-inch and 8-inch runs for larger fireplaces in the split-levels common south of Old Country Road. The Pro series moved to 316Ti across the board and added oval-to-round adapters that matter in Plainview’s tighter chimney flues.
To identify what you have, check the top termination for a stamped Gelco label, or have us drop a camera and look for the seam weld pattern. Original Gelco used a single longitudinal seam; Pro series uses a helical lockseam that’s visible on inspection. The critical compatibility gotcha: Gelco’s oval adapters are proprietary in their taper angle. A generic oval liner forced into that space creates a lip where creosote collects, and we’ve found that exact problem in three Plainview homes near Manetto Hill Road where a previous installer cut corners.
We source OEM Gelco replacement sections where the original system is otherwise sound, and we match with 316Ti equivalent from our stocked inventory when the full run needs replacement. We’re an independent service provider, not affiliated with Gelco, so our recommendation is based on what your chimney actually needs.
Signs Your Gelco Flue Liner Replacement Is Failing
- Smoke odor in upstairs bedrooms or attic space. This means combustion gases are escaping through a breach in the liner wall, often at a joint or where the liner has corroded through from the outside in. In Plainview’s older capes and ranches, that smoke migrates through framing channels and shows up where you least expect it.
- Rust-colored flakes or powder in the firebox or cleanout. Stainless steel doesn’t rust, but the underlying steel chimney frame does when a liner gap lets moisture and acid condensate reach it. Those flakes are your chimney’s structural steel deteriorating, and the problem accelerates through Long Island’s freeze-thaw cycles.
- Visible gaps or separation at liner joints on camera inspection. Gelco’s original clamp-ring joints can loosen after 15 to 20 years of thermal cycling, especially if the initial installer didn’t seat the rings with the proper torque. The gap may be small, but it grows, and it voids the liner’s UL listing the moment it’s visible.
- Water staining on interior walls near the chimney chase. A failed liner lets exhaust cool too quickly, causing excessive condensation that runs back down and finds its way through masonry joints. We’ve traced basement moisture problems in Plainview homes to this exact issue, where the homeowner had already paid for roof repairs that didn’t solve it.
- Draft problems that started suddenly after years of good performance. A liner that has partially collapsed or shifted can create an obstruction that chokes the draft, or it can open a leak that disrupts the pressure balance. Either way, the fireplace that worked fine last season suddenly smokes into the room, and the damper adjustment doesn’t fix it.
Replacement Cost & What’s Included
For a typical Plainview home with a single-story chimney run of 15 to 25 feet, expect $1,800 to $2,600 for a full Gelco-compatible liner replacement. Two-story colonials with longer runs, offset flues, or the need to remove a damaged existing liner in sections push the range to $2,800 to $3,400. The price includes the liner itself, top termination and rain cap, bottom connector plate, all fasteners and sealants, and full disposal of the old material.
What drives the spread: chimney height, whether we need to rebuild the top of the flue to accept the new liner, and if the existing liner is so corroded that it has to be extracted in pieces rather than pulled as one assembly. We price this upfront, before we start, and the number on the estimate is the number on the invoice. Every liner replacement carries our 90-Day Done Right Promise in writing, no arguing. If it’s not right, we come back.
DIY or Call Us?
There’s a safe middle ground here, and then there’s where DIY stops. You can verify your chimney diameter with a tape measure from the cleanout, check the termination cap for damage from the roof if you’re comfortable on a ladder, and confirm whether your Gelco label is still legible. What you cannot safely do is attempt liner extraction or installation yourself.
A flue liner replacement involves working at height with heavy stainless sections, proper sizing of the connector to your appliance, and verification that the entire system drafts correctly under operating conditions. More critically, an improperly seated liner creates a carbon monoxide path into living space that you won’t detect until it’s dangerous. We’ve re-done three Plainview installations in the past two years where a homeowner or handyman got the liner in but missed the seal at the appliance adapter. The fix cost more than calling us first would have. If you suspect your Gelco liner is failing, call (934) 348-4832 and we’ll give you a straight answer about what you’re looking at.
FAQs
A properly installed 316Ti stainless liner should last 20 to 30 years in Nassau County’s climate, though we’ve seen original 304-grade Gelco systems start showing joint fatigue at 15 years, especially in homes that burn regularly through the heating season. The salt air from the south shore accelerates exterior corrosion if the cap fails, which is why we inspect the termination every time. Call (934) 348-4832 for an exact quote on your setup - estimates are free.
Localized damage can sometimes be addressed with a partial section replacement or a properly rated repair sleeve, but only if the remaining liner passes a Level-2 camera inspection with no additional thinning, pitting, or joint separation. We won’t recommend a patch when the system is failing elsewhere; that’s a temporary fix that leaves you paying twice. Call (934) 348-4832 for an exact quote on your setup - estimates are free.
Most Gelco liner replacements in Plainview are completed in four to six hours from setup to final draft test, assuming the existing liner pulls out without cutting and the flue is otherwise sound. Jobs requiring liner extraction in pieces, top flue rebuilding, or oval-to-round adapter fitting may extend to a full day. Call (934) 348-4832 for an exact quote on your setup - estimates are free.
We stock 316Ti replacement liners in 5-inch, 6-inch, and 7-inch diameters, the most common sizes for Gelco systems in Nassau County homes, along with the proprietary oval adapters and termination hardware. Less common diameters or specialized configurations we source within 24 to 48 hours. Call (934) 348-4832 for an exact quote on your setup - estimates are free.
If the chimney is doing its job, you won’t think about it once all winter - that’s exactly the point. We’ve been working toward that result in Plainview and across Long Island for over 42 years, and we plan to be here when your replacement liner eventually needs its own inspection.
Written by Russell Haines, Owner, Hearthstone Chimney Co. at Hearthstone Chimney Co., serving Plainview and nearby areas.